There’s a world of visual wonder beneath the waves but it requires equipment, knowledge and an awareness of the environment to properly capture. Keith Wilson offers his tips and tricks to improve your underwater photography
By Keith Wilson
Earlier this year, scientists working with the WWF released video footage showing views of the ocean surface taken from the backs of whales in Antarctica. Scientists had fitted cameras with suction caps which were designed to fall off after 48 hours, but that was long enough to gain extraordinary transmitted footage showing the marine giants surfacing for air, swimming under ice, feeding and engaging with other whales.
Stay connected with the Geographical newsletter!
In these turbulent times, we’re committed to telling expansive stories from across the globe, highlighting the everyday lives of normal but extraordinary people. Stay informed and engaged with Geographical.
Get Geographical’s latest news delivered straight to your inbox every Friday!
The pioneering oceanographer, diver and underwater photographer Jacques Cousteau once said that ‘freed from gravity, underwater man becomes like an angel.’ Cousteau’s great invention, the self-contained underwater breathing apparatus (SCUBA), increases our ability to dive deeper and stay underwater for longer to experience the ‘angel-like’ sense of weightlessness that so entranced him and generations of divers since.
Cousteau is also credited with inventing the world’s first underwater camera, the Calypso, in 1955. It was a 35mm film camera and provided the inspiration for the development of the famous Nikonos system that dominated underwater camera sales before the digital age. With two such important inventions, Cousteau is rightly regarded as the pioneer of both diving and underwater photography.

Flash and colour
During Cousteau’s life, underwater photography was a more rarefied pursuit than it is today and took much longer to learn and master. The primary reason was that by being limited to 36 exposures (as you couldn’t change a roll of film underwater), photographers would have to wait long after the dive to see their results and inevitable mistakes. Most of those errors concerned the positioning and direction of underwater flash (strobes), which are essential for restoring the natural colours of marine life that are lost to the eye because of the way light refracts beneath the surface.
Light scatters immediately when it passes through water, Infrared light reaches its limit barely two metres below the waterline. By a depth of five metres all red light dissipates, at 30 metres all green is absorbed and at 60 metres even blue is gone. With the colours of the spectrum being absorbed so quickly, strobes are essential for restoring the natural colours of fish, coral and other sea life.
Fortunately, digital photgraphers can review their flash exposures on the LCD monitor while still underwater, so the learning process is many times faster than in the days of film. It is also important to have a high enough flash setting and focus closely as an underlit subject will render blue. However, auto white balance can make the necessary adjustment to restore the colours – another technological advance that speeds up the learning process and helps explain why more people than ever are dipping their toes into the world of underwater photography.

Favourite locations
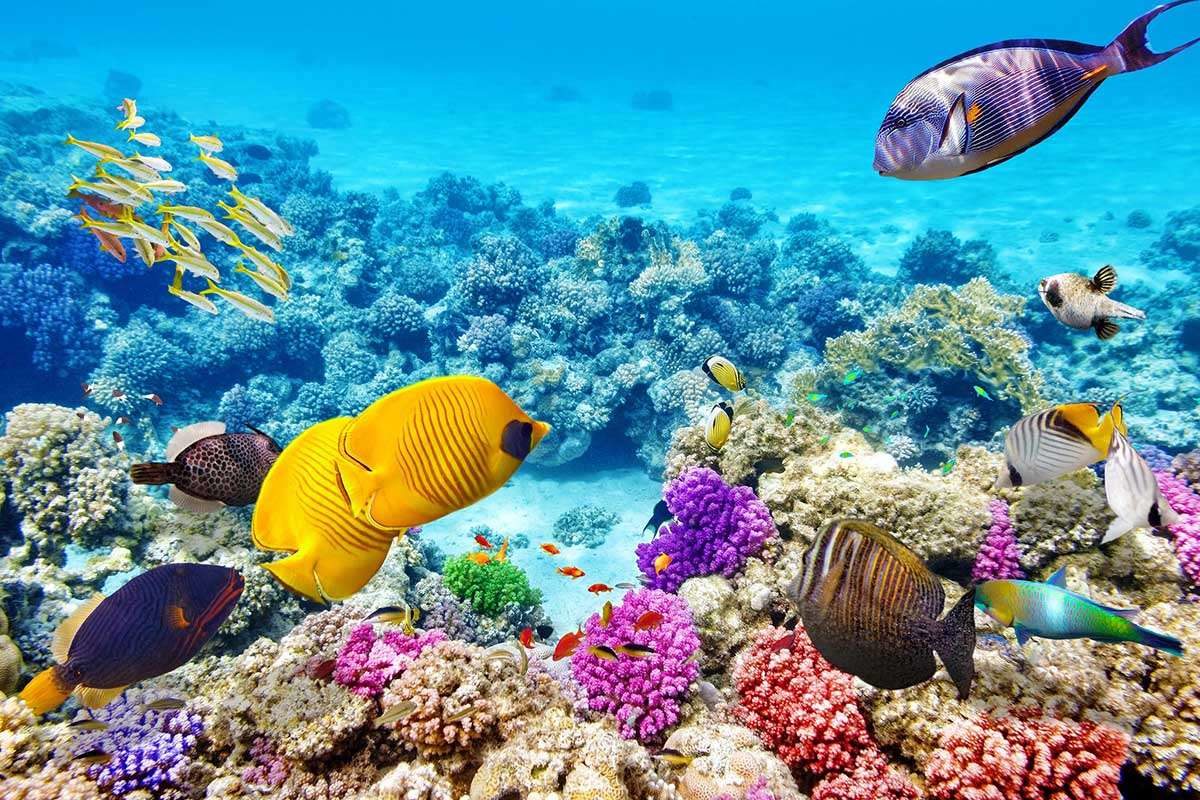
Of course, your chances of getting clear and colourful images are improved when shooting under bright, overhead sunlight in the middle of the day and in a calm sea. In these conditions refraction is reduced and more light will penetrate the surface – ideal conditions for the surface-skimming snorkeller attempting to photograph fish and coral with a basic point-and-shoot waterproof camera. These brightly lit conditions are a primary reason why many divers, not just photographers, prefer dive sights in the tropical seas of the Caribbean and Southeast Asia, or waters close to the dry air of desert shores, such as the Red Sea. Here, the stable weather conditions and clear, warm waters ensure consistently good diving conditions. The Red Sea is also blessed with unique fish species, a richly covered coral reef and many accessible shipwrecks. Other locations are the heavily protected waters around the Galápagos Islands, where many animals don’t fear the human silhouette.
Not surprisingly, most underwater pros are proficient scuba divers and plan each dive carefully, as things that we take for granted on land, such as changing lenses or loading a new memory card when one fills up, cannot be performed underwater. The plus side to this perceived restriction is that by having to optimise your equipment choices for your dive, you are forced to plan and visualise the type of shots you want to take, arguably leading to more satisfying results.

Split-level view
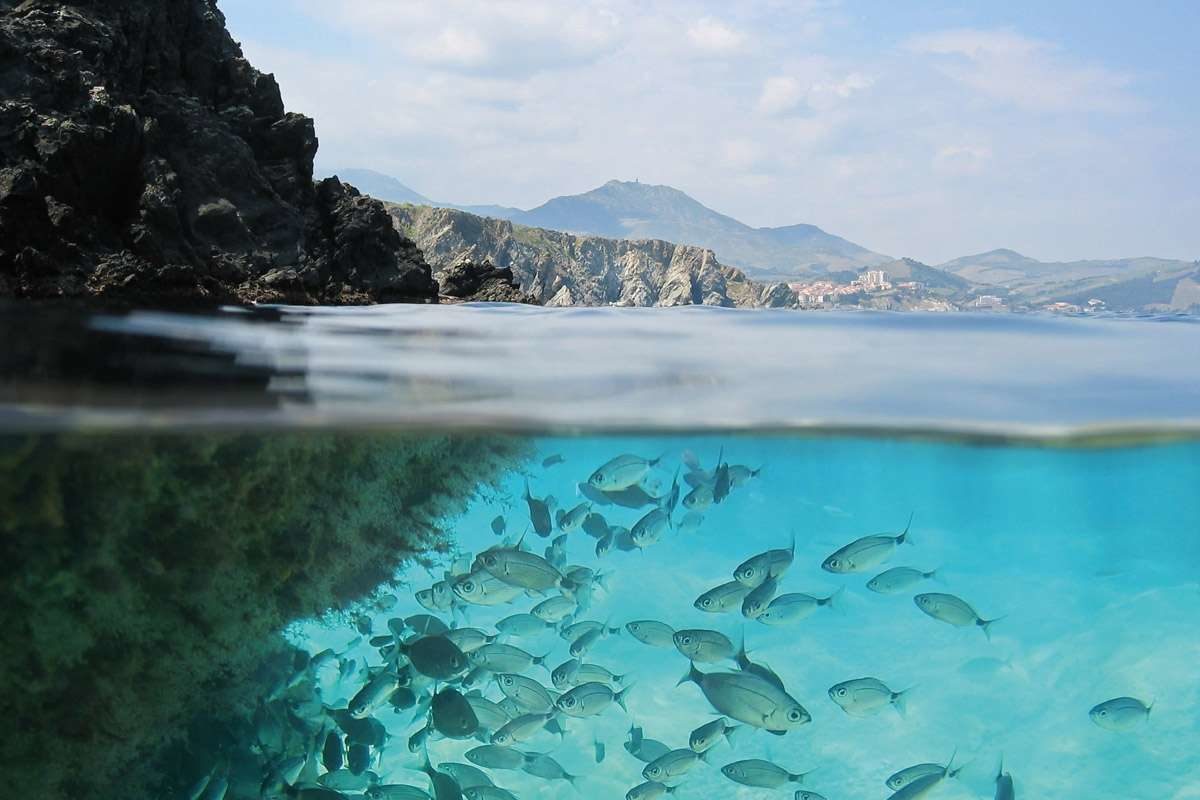
One style of image that is especially popular with underwater photographers, particularly in clear, well-lit waters, is the split-level view where the waterline bisects the frame below and above the surface. Also known as a ‘half-in, half-out’ photo, this is not as easy as it looks even though it is one of the most accessible of techniques. This style of photo is perfect for snorkellers and anyone paddling in the shallows with a waterproof camera.
Metering-wise, successful split-level images are not easy to make because even on the water’s surface the difference in exposure levels (dynamic range) above and below the surface can be marked. Water after all is highly reflective, so the best time of day to attempt a split-level view is when the sun is at its highest and reflections less likely to scatter, leading to lens flare and a vast variance in exposure readings above and below the surface.

A whale of a catch
Split-level compositions have become the speciality of Norwegian marine biologist and photographer Audun Rikardsen, who photographs the attempts by killer whales to raid fishing nets as they are loaded onto trawlers. Documenting this story in one frame but on two levels – the fishermen on the surface and the whales beneath – meant Rikardsen had to shoot split-level, with the camera and lens in a waterproof housing but only partially submerged. While straightforward when shooting fish close-up in warmer waters and bright sun, he was trying this with whales in the 24-hour darkness of the Polar winter!
However, Rikardsen’s scientific mind was up for the challenge. He explains: ‘What you usually have is a dome (underwater housing), which is rounded and it’s excellent for taking split pictures, particularly with super wide-angles or fisheyes, but the dome at the front is working like a lens and the water itself is working like a lens, so the focus above and below the water is totally different. If you set the lens to infinity focus, the infinity below the water will only be about 30 or 40cm in front of the lens.’
In well-lit waters, photographers get around this quandary by setting a small aperture (stopping down), but in the dark winters of the Norwegian coast that is not an option, meaning focus is either sharp underwater or above water, leaving the other part of the split-level blurred.
Rikardsen wanted maximum sharpness and depth of field both above and below the waterline, so he had to design a home-made housing that was flat. ‘I made a big ‘flat dome’, because with flat glass, as with a diving mask, you have the same sharpness both above and below the surface.’ His flat glass housing solution meant he could now show sharply focused images of a whale below the water and fishing boats or the snow-capped coastline above, during the low light of the Polar winter months.

Focusing challenge
While Rikardsen’s photographs are a more specialised example of the split-level technique, he still has to take into account the same technical considerations as anyone else. For instance, water acts like a magnifier when light refracts through it, so objects and sea creatures beneath the surface look nearly a third bigger than they really are, thereby constantly fooling fishermen about the size of their missed catches! Light refraction underwater severely limits the depth of focusing, so the camera has to be as close as possible for the subject to ensure accurate focus. This explains why lenses used for underwater photography are ultra-wideangles and fisheyes: to maximise depth of field and include as much of the subject in the frame from a close distance.
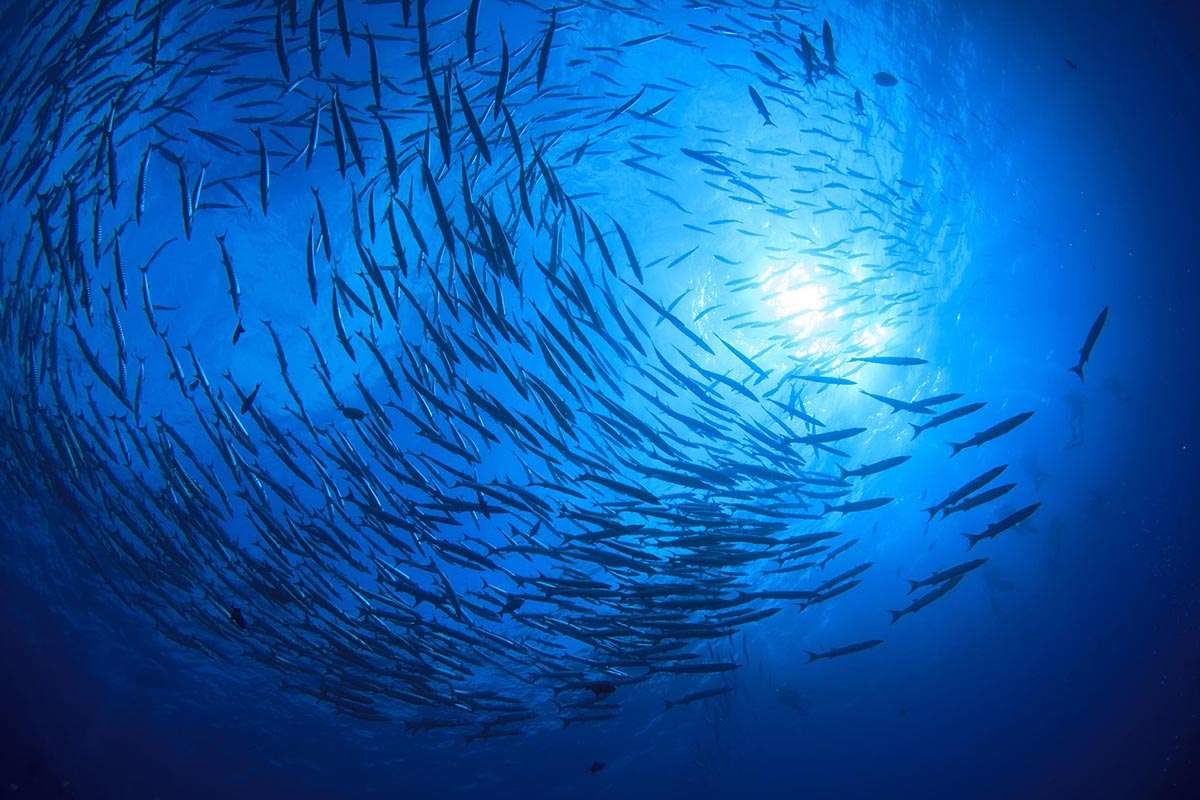
When composing pictures, the same guidelines and rules for ‘topside’ photography apply to the underwater world, so don’t always place your subject in the centre of the frame. If photographing a school of fish try not to photograph them swimming away from you – all moving subjects, even underwater, look best when moving into the frame or towards the photographer.
Finally, as with all nature photography, the welfare of marine life is paramount and divers must behave responsibly when photographing their subjects. In particular, coral reefs are among the most sensitive forms of life on the planet and a vital part of the marine environment.
Tips for photographing under the sea
Do
- Optimise your planning before making a dive. You can’t change lenses or memory cards underwater, so have a clear idea of what you want to photograph before taking the plunge.
- Get close to your subject – remember light refraction means everything below the surface is actually smaller than it looks through the viewfinder.
- Check your subject is within the flash distance of your strobe.
Don’t
- Lose track of time when in the water. Obviously, air supply is limited when scuba diving, so make regular checks of time and air supply.
- Don’t waste battery power by viewing every exposure on the LCD screen. Concentrate on the next picture and getting into the best position.
- Don’t underrate the strobe setting. Flash doesn’t spread far underwater and an under-lit subject will look blue, so boost the power.
Equipment selection
Lens option: Fisheye perspective
The ultra wide-angle perspective of fisheye lenses is ideal for the close focusing situations required underwater. Fisheyes are among the shortest focal length lenses available, with great depth of field. Some produce a circular image, but the Sigma 15mm f/2.8 EX DG (£600) is a diagonal fisheye which means the distorted 1800 view is shown full frame within the camera’s field of view. Available in Sigma, Sony, Canon, Nikon and Pentax mounts.
www.sigma-imaging-uk.com
Camera option : Underwater compact
You don’t have to have a pro model DSLR in waterproof housing to enjoy underwater photography. There are a wide range of affordable waterproof digital compacts that are easy to use. The latest is the Nikon Coolpix W300 (£390), which captures 16 megapixel photos and 4K/UHD video at depths of up to 30 metres – no housing required.
www.nikon.co.uk
Digital option: Camera housings
Basic camera housings are made of plastic and resemble transparent boxes with oversized dials and knobs. Others are made of die-cast aluminium – expensive but more durable– and enable photographers to operate the LCD screen to depths well beyond the reach of ambient light. Major brands include Ikelite, Seacam, Fantasea and Nimar, makers of the pictured housing (£900) for the Canon EOS 60D.
www.underwater-housing.co.uk
Recommended reading
Underwater Photography Masterclass by Alex Mustard; Ammonite Press; £19.99 (softback)
Secrets of the Seas by Callum Roberts and Alex Mustard; Bloomsbury; £25 (hardback)
World’s Best Wildlife Dive Sites by Caroline and Nick Robertson-Brown; New Holland; £19.99 (hardback)


